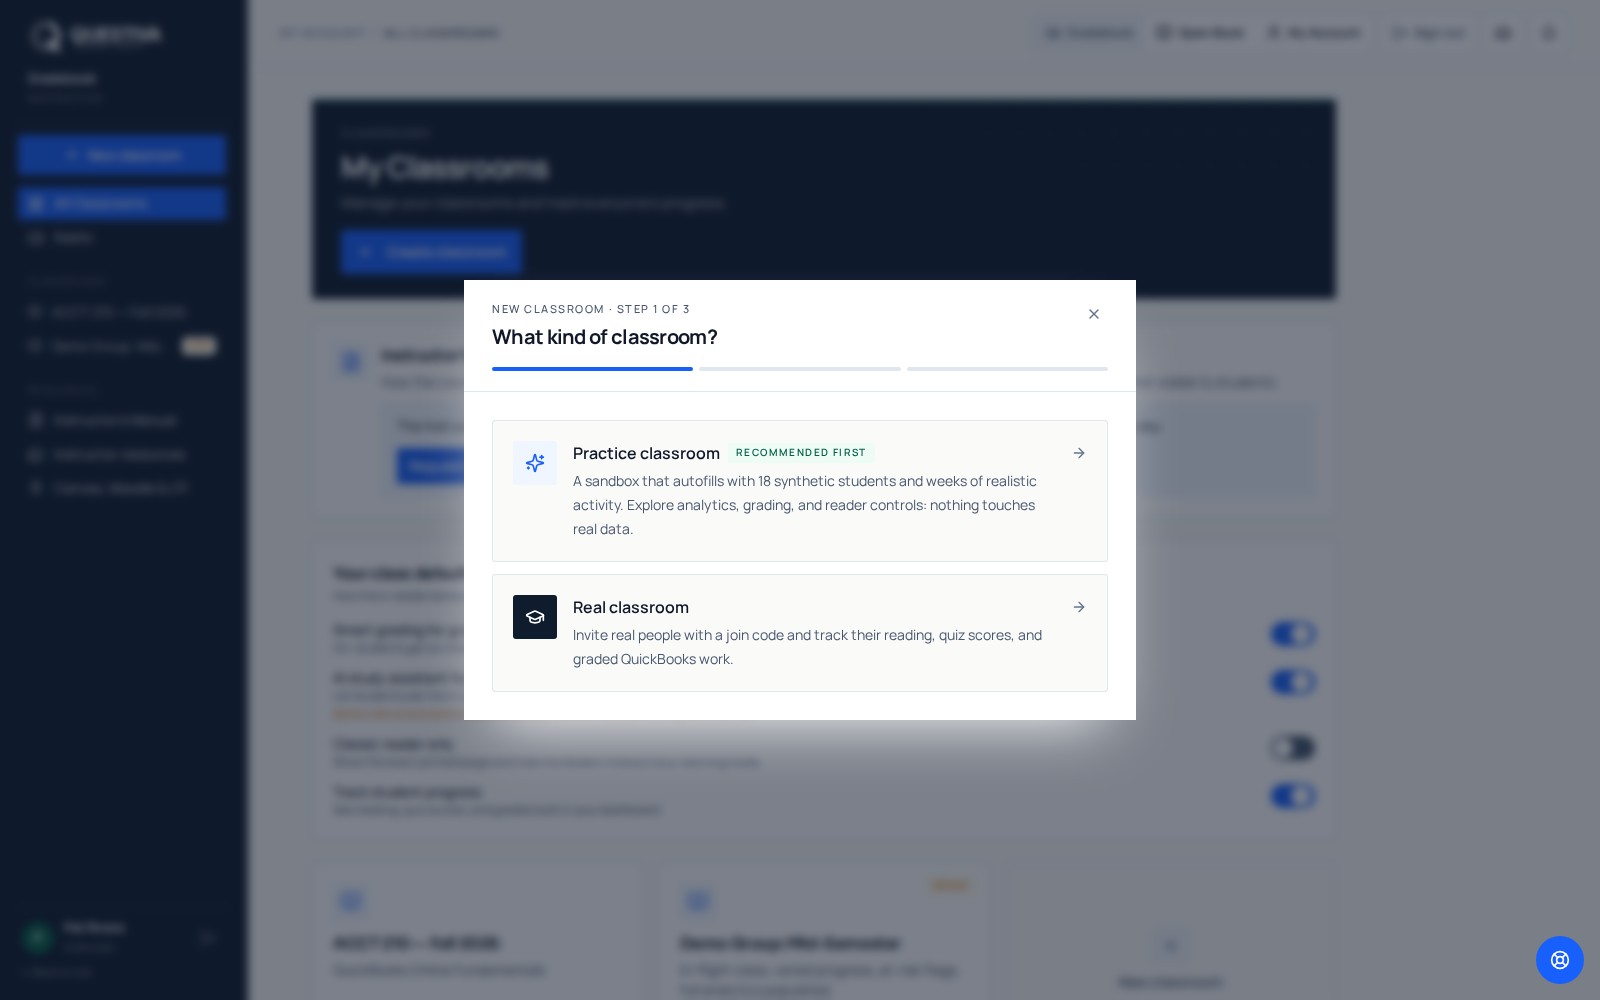
Choose New classroom in the Teacher Dashboard sidebar. It takes about a minute, and every class uses QuickBooks Online Step-by-Step, so there's no book to pick.
Choose Real classroom
If it's locked, it offers to turn on group tools first (free, instant, no review). (Practice classroom makes a demo class full of sample students instead.)
Choose which book the class teaches
Standard (where every class starts) covers every chapter. Lite stops after chapter 10 and needs no QuickBooks account. You can switch the whole class later from the top of its dashboard.
Name the class
Pick a name you'll keep, like Accounting 101, Fall 2026. You can't rename a class yourself yet; ask us if you need to.
Decide about Release quiz results to students
Ticked, students can check the answers once they have tried. Unticked, the answer key stays hidden. You can change it later under Answer support in Class settings.
Choose Create classroom
Your class opens with its join code ready to share.
What a new class starts with
Smart grading, Classic reader only and Track student progress come from Your class defaults, at the top of your list of classes. Set those before you create your sections. You can change any of them later in each class's Class settings.
Next
- Pick your chapters with Assignments. See Choose which chapters your class works on.
- Invite your students. See Invite students.
Questions we get about this
- Do I need instructor approval to create a class?
- No, only group tools (free, instant, no review). Approval opens the Instructor's Manual and teaching files. See How instructor approval works.
- Do my students need to buy the book?
- Each student needs their own plan, or a seat from your pool. See How seats work.